Rental Property Inspection Checklist NZ
October 24, 2025
Owning a rental property in New Zealand is a big deal, and keeping it in good nick is pretty important. It’s not just about making sure the place looks nice; it’s about protecting your investment and making sure everything’s above board legally. That’s where a good old rental property inspection checklist comes in. Think of it as your roadmap for checking over the place regularly.
Without a structured approach, it’s easy to miss things, and that can lead to bigger, more expensive problems down the line.
Why bother with a checklist? Well, for starters, it helps you keep track of the property’s condition. You can spot small issues, like a leaky tap or a bit of mould starting in the bathroom, before they turn into major headaches. This kind of regular upkeep can save you a fair bit of cash in the long run. Plus, insurance companies often want to see that you’re being proactive. If something does go wrong, having a record of your inspections can make a big difference when you need to make a claim. It shows you’ve been doing your due diligence.
Here’s a quick look at why these checklists are so useful:
Using a checklist isn’t just about ticking boxes; it’s about having a clear, consistent way to monitor the health of your rental. It helps you stay organised and confident that you’re looking after your asset properly.

Before you even think about walking through the property with your checklist, there are a few bits of paperwork and timing considerations to get sorted. It’s not just about grabbing a list and heading over; a bit of preparation makes the whole process smoother and more effective.
First off, you’ll want to have the original tenancy agreement handy. This document outlines what condition the property was in when the tenant moved in, and it’s your baseline. You should also have any previous inspection reports. These show the history of the property’s condition and any issues that were noted previously. Having these documents readily available means you can compare the current state against the agreed-upon condition and track any changes over time.
When it comes to timing, there are a few things to keep in mind. Most insurance policies will require you to inspect the property every quarter, so it’s a good idea to check the specifics of your policy. Beyond that, the Residential Tenancies Act sets out rules about how much notice you need to give your tenants before an inspection. Generally, you need to provide at least 48 hours’ written notice. It’s also good practice to schedule inspections at times that make sense for the property and the season. For example, spring is often a good time to check on outdoor areas and any potential winter damage before the weather gets too warm.
Here’s a quick rundown of what to prepare:
It’s important to remember that while you are documenting the property’s condition, you should avoid photographing or noting down your tenant’s personal belongings. The focus should remain strictly on the structure and fixtures of the property itself.
Property inspections typically don’t take too long, often around 15 minutes depending on the size of the place, but doing this prep work beforehand means you can focus on what you’re actually looking at during the property inspection rather than scrambling for paperwork.
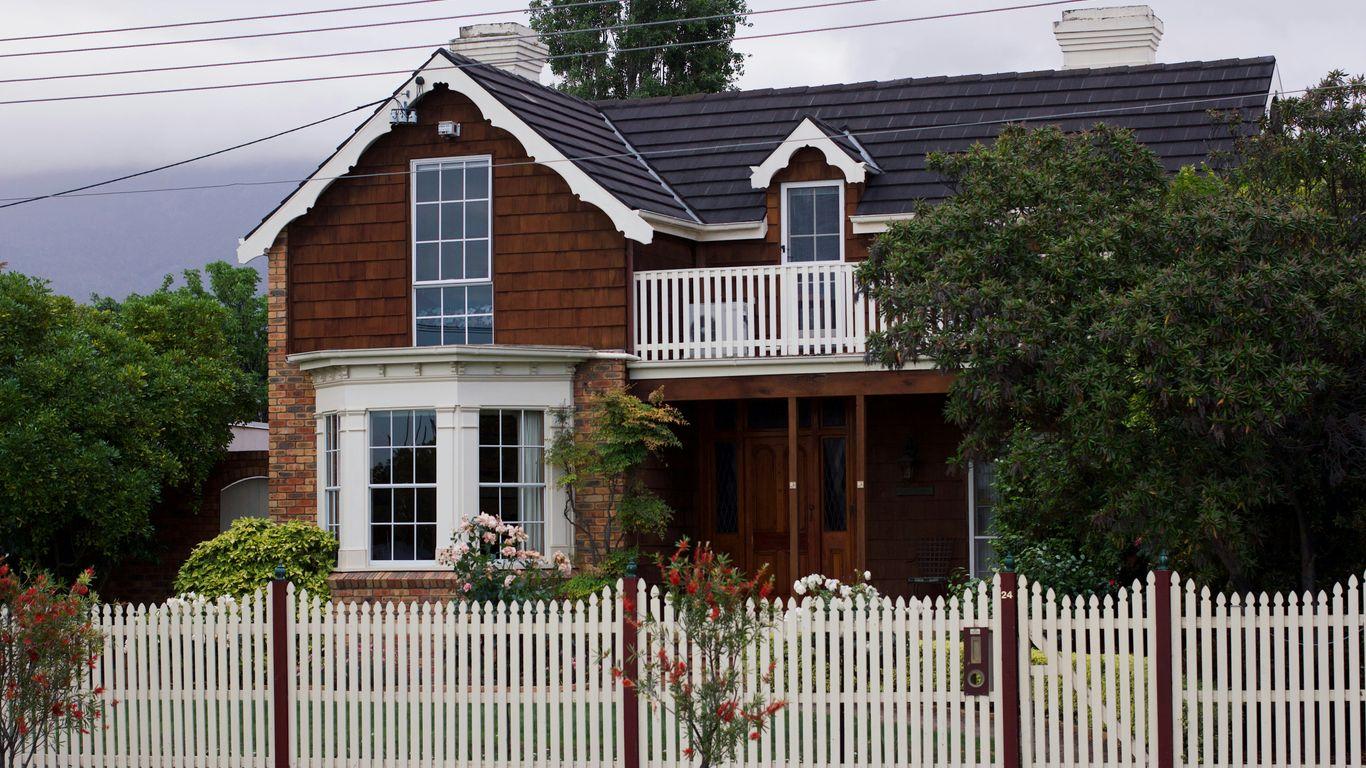
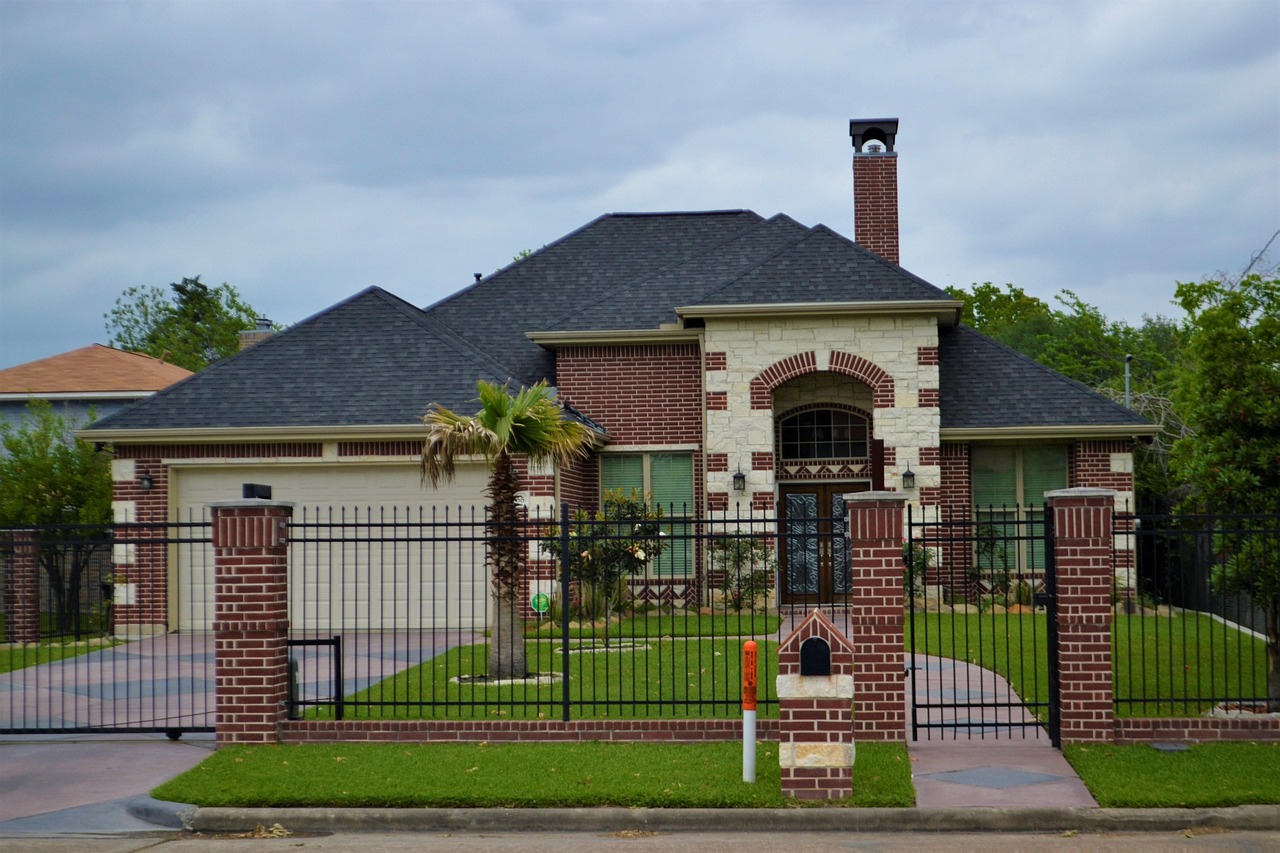
When it comes to inspecting your rental property, don’t forget the outside. The exterior and grounds are the first things a potential tenant sees, and they also give clues about the property’s overall condition. A thorough check here can prevent bigger problems down the line.
Start with the basics. Look at the roof – is it in good condition, watertight, and free from obvious damage? Check the gutters and spouting; are they clear of leaves and debris, and is the water flowing away properly? Blocked gutters can lead to water damage to the building’s structure. Also, examine the exterior walls for any signs of damage, such as chipping paint or loose fittings. This is a good time to note any areas that might need a fresh coat of paint or minor repairs.
Next, focus on the grounds. This includes the garden, pathways, and any outdoor structures like fences or sheds. Are the trees and shrubs well-maintained? Look out for low-hanging branches that could be a hazard or damage the property. Check that pathways are clear and not presenting a trip hazard. Uneven ground or decking that causes water to pool can lead to rot in wooden structures over time, so keep an eye out for any external puddling.
Here’s a quick rundown of what to look for:
It’s important to remember that the exterior is the first impression. Keeping it tidy and well-maintained not only looks good but also helps protect the property from the elements and can prevent costly repairs later on. Regular checks, perhaps seasonally, can make a big difference in maintaining the property’s value and appeal.
Don’t forget to check that all window and door locks are functioning correctly. This is a simple but important security measure. If your property has an alarm system, ensure it’s working as expected. A well-maintained exterior contributes significantly to the property’s overall health and can help avoid issues like damp or pest infestations. For more detailed guidance on property maintenance, you might find resources on rental property maintenance helpful.
When you’re looking around the inside of a rental property, it’s not just about a glance. You need to be thorough, checking each room and all the bits and pieces within it. This part of your checklist is where you really get into the nitty-gritty of the property’s state.
Think about the walls, ceilings, and floors. Are there any marks, scuffs, or damage? What about the paintwork – is it peeling or faded? For floors, check for loose tiles, worn carpets, or any lifting in vinyl or linoleum. It’s easy to overlook these things, but they can add up.
Here’s a breakdown of what to look for:
It’s also a good idea to note the general cleanliness of each room. While you’re not expecting perfection, excessive dirt or grime can indicate bigger issues or potential problems down the line, like pest infestations or damage to surfaces.
Keeping a close eye on the interior condition helps you spot small problems before they become expensive repairs. It also shows your tenants that you care about the property’s upkeep, which can encourage them to do the same.
Consider using a table like this to record your findings for each room:
|
Room |
Walls/Ceiling |
Floor |
Windows/Doors |
Fixtures/Fittings |
Notes |
|
Kitchen |
Minor scuff |
Good |
OK |
Oven dirty |
Extractor fan needs cleaning |
|
Bathroom |
Mould spot |
Sealant worn |
OK |
Shower leak |
Check the grout around the bath |
|
Living Room |
OK |
Small stain |
OK |
Light flickers |
Tenant to report light issue |
|
Bedroom 1 |
OK |
OK |
OK |
OK |
When you’re looking over your rental property, making sure it’s safe for everyone is a big deal. It’s not just about keeping things looking nice; it’s about preventing accidents and making sure the place meets basic safety standards. Think about things like smoke alarms – are they there, and do they have fresh batteries? It sounds simple, but a working smoke alarm can make a huge difference in an emergency.
We also need to check for any fire hazards. This could be anything from making sure heating vents aren’t blocked by furniture, which could be a fire risk, to checking that electrical sockets aren’t overloaded or damaged. Leaking pipes are another thing to watch out for. A small leak might not seem like much, but it can lead to damp and mould, which isn’t good for anyone’s health, especially if someone has breathing issues. Plus, damp can damage the property itself over time.
Here’s a quick rundown of what to keep an eye on:
It’s important to remember that maintaining a safe property isn’t just a good idea; it’s often a legal requirement. Landlords have a duty of care to their tenants, and failing to address safety concerns can lead to serious consequences, including legal action and invalid insurance claims.
Don’t forget about things like secure handrails on stairs and making sure any outdoor areas, like decks or balconies, are in good repair. If you’re unsure about any electrical or plumbing issues, it’s always best to get a qualified professional to take a look. It might cost a bit upfront, but it’s far better than dealing with a major problem later on.
When you’re managing a rental property in New Zealand, keeping on the right side of the law is just as important as checking for leaky taps. Your inspection checklist isn’t just a tool for spotting wear and tear; it’s also a way to confirm you’re meeting your legal duties as a landlord. This means making sure the property is safe and habitable for your tenants, which is a core requirement under the Residential Tenancies Act.
Regular inspections are a legal obligation, not just a good idea. They help you identify any issues that could affect the property’s structural integrity, plumbing, or electrical systems, keeping them in a safe state.
Here are some key legal points to consider during your inspections:
It’s easy to get caught up in the practicalities of what needs fixing, but don’t forget the legal framework. Staying informed about your obligations under the Residential Tenancies Act and any relevant regulations protects both your investment and your relationship with your tenants. Ignorance isn’t a defence when it comes to landlord responsibilities.
Your inspection checklist should prompt you to check for things like functioning smoke alarms, secure window latches, and clear pathways, all of which contribute to tenant safety and legal compliance. If you’re unsure about specific requirements, consulting official government resources or a property management professional is always a wise step.
Once you’ve gone through your rental property with your checklist in hand, the next step is to properly document everything you’ve observed. This isn’t just about ticking boxes; it’s about creating a clear, factual record that protects both you and your tenant.
The most important thing is to be thorough and objective in your notes. Avoid making assumptions. If something looks a bit worn, note it as ‘wear and tear’ or ‘minor scuff mark’ rather than ‘damage’. Similarly, if a fixture is working perfectly, state that it’s ‘in good working order’.
Here’s a breakdown of how to approach recording your findings:
Here’s a simple table format you could use for recording:
|
Item Checked |
Condition Observed |
Notes/Action Required |
Photo Ref |
Tenant Comments |
|
Lounge – Walls |
Good |
No marks or damage |
IMG_001 |
|
|
Kitchen – Oven |
Working |
Minor food residue on racks |
IMG_002 |
Tenant mentioned the oven needs to a cleaned |
|
Bathroom – Shower Screen |
Minor scratches |
Scratches noted on the lower section |
IMG_003 |
Keeping accurate records is not just good practice; it’s often a requirement for insurance claims and can be vital in resolving any disputes that might arise at the end of a tenancy. A well-documented inspection provides a clear baseline of the property’s condition.
After you’ve completed your documentation, make sure to store it safely. Having a digital copy, perhaps in a cloud-based folder, is a good idea. This ensures you can access it easily whenever you need it, whether that’s for your next inspection or if a problem crops up.
Once you’ve completed your rental property inspection, the real work begins. It’s not just about ticking boxes; it’s about taking action to protect your investment and keep your tenants happy. The findings from your inspection form the basis of your ongoing property maintenance plan.
First, you’ll want to sort through your notes and photos. Group any issues identified into categories. This helps in prioritising what needs attention most urgently. A simple way to do this is with a table:
|
Issue Category |
Specific Problem |
Urgency |
Action Required |
Estimated Cost |
Target Completion Date |
|
Plumbing |
Leaky tap in bathroom |
Medium |
Replace washer |
$20 |
2025-11-15 |
|
Electrical |
Flickering light in the hallway |
Low |
Check wiring |
$100 |
2025-12-01 |
|
Structural |
Small crack in exterior wall |
High |
Professional assessment |
$300 |
2025-11-30 |
After categorising, it’s time to plan the actual work. For immediate repairs, like a significant leak or a safety hazard, you’ll need to act fast. This might mean calling in a tradesperson straight away. For less urgent items, you can schedule them in. Think about the time of year, too. For instance, exterior painting is best done in drier weather, so scheduling that for spring makes sense.
Here’s a breakdown of how to approach the follow-up:
A proactive approach to maintenance, informed by regular inspections, is key to a successful tenancy. It not only preserves the value of your property but also contributes to a positive living environment for your tenants, potentially reducing turnover and future repair costs.
Remember, consistent follow-up is what turns a simple inspection into an effective property management strategy. It’s about staying on top of things and making sure your rental property remains a sound investment and a comfortable home. For more on keeping your property in good shape, consider looking into routine property inspections.
After your rental property inspection in New Zealand, it’s important to sort out any issues and have a plan for ongoing care. This ensures your property stays in good shape and keeps your tenants happy. For more tips on keeping your rental property in top condition, check out our website.
While it’s not strictly required for your tenant to be present during an inspection, it’s polite to ask if they’d like to be there. If they can’t make it, it’s a good idea to ask them to leave notes or send an email about any specific things they’d like you to check. This shows respect for their space and helps address their concerns.
Most insurance policies will ask you to inspect your rental property at least every three months. It’s always best to read the fine print of your insurance policy to be sure of the exact requirements. Regular checks help catch issues early.
Yes, absolutely. Taking photos is very important. Your insurance company will likely need them if you ever need to make a claim. It’s also wise to keep old photos of the property to show its condition over time. Just be careful not to take pictures of your tenant’s personal belongings.
You should check a wide range of things, from small details like making sure curtains are mould-free and curtain tracks are secure, to bigger items like checking the dishwasher for damage or leaks. A detailed checklist helps ensure you don’t miss anything important, covering everything from the outside grounds to inside fixtures and fittings.
If you find something that needs attention, it’s best to deal with it straight away. This is called proactive maintenance. Small issues can become big, costly problems if left unfixed. If you’re unsure how to fix something, it’s always a good idea to call a professional tradesperson to get it done properly and safely.
Yes, you must give your tenant at least 48 hours’ notice before an inspection, but no more than 14 days in advance. Inspections can usually take place between 8 am and 7 pm. Giving proper notice respects your tenant’s privacy and helps them prepare.